How to Enable Apache PHP and Change Apache Port on MacOS
— Apache, Homebrew, Guide, MacOS, PHP — 1 min read
After we are already done with switching to Apache Homebrew, to enable PHP, we need to install it first with Homebrew.
Open the terminal and install the latest PHP version by this command:
brew install phpThe output you may get if the process is done:

The next step is to add the Apache httpd.conf with this line of the configuration:
LoadModule php_module /opt/homebrew/opt/php/lib/httpd/modules/libphp.so
<FilesMatch \.php$> SetHandler application/x-httpd-php</FilesMatch>and edit the Apache httpd.conf from:
<IfModule dir_module> DirectoryIndex index.html</IfModule>to:
<IfModule dir_module> DirectoryIndex index.html index.php</IfModule>and the last step to change the apache port is to edit the Apache httpd.conf from:
Listen 8080to
Listen 80Restart the Apache services by this command:
brew services restart httpdCheck the Apache port by this command:
sudo lsof -i:80This tells us that the Apache is running and we have already succeeded to change the port, and for the PHP version we can check by this command:
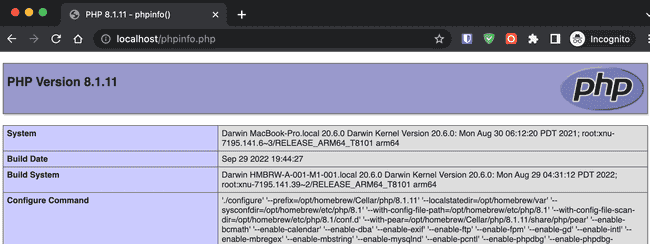
php -vand check it via Browser by adding <?php phpinfo(); ?> to a .php at the DocumentRoot
MISSION IS COMPLETED!!


